When rust appears through a fresh coat of paint, it is rarely a failure of the topcoat itself; it is a sign of active oxidation occurring beneath the film. This happens because the previous rust was not successfully neutralised before painting. Standard decorative paints are often porous at a microscopic level; if air and moisture are trapped in the pits of the metal, the rust continues to grow, eventually leaching through the paint itself and appearing as an ugly stain.
-
The Pit Trap: Rust creates microscopic craters. If these aren't filled with a specialized anti-corrosive primer, oxygen stays trapped inside, allowing the cycle of corrosion to continue.
-
Insufficient Barrier: A single coat of Direct to Metal paint may not be thick enough to act as a total oxygen barrier on older, heavily weathered fences.
-
Surface Contamination: Painting over invisible salts or oils prevents the paint from bonding to the steel, allowing moisture to creep under the edges.
→ Shop Everest - Direct to Metal Paint - Oil Based Gloss
→ Shop Everest - Anti-Corrosive Oxide Primer
The Science of Under-Film Corrosion
To understand why rust won't stay hidden, you have to view metal as a living, reactive surface. Corrosion is an electrochemical process. For rust to form, you need three ingredients: Iron, Oxygen, and an Electrolyte (Moisture).
If you simply cover rust with a standard gloss paint, you are only hiding the symptom. If the paint hasn't chemically bonded to the metal at a molecular level, moisture can still migrate through the paint film or creep in from the edges. Once that moisture hits the iron, the oxidation process restarts. Because rust expands as it grows, it physically pushes the new paint away from the metal, leading to the familiar orange spots or bubbling finish.
The Troubleshooting Checklist
1. The Loose Rust Error
The most common cause of rapid failure is painting over loose, flaky rust.
-
The Reality: Paint is only as strong as what it is stuck to. If you paint over a loose flake, the rust will continue to delaminate, taking your new Everest Direct to Metal Gloss with it.
-
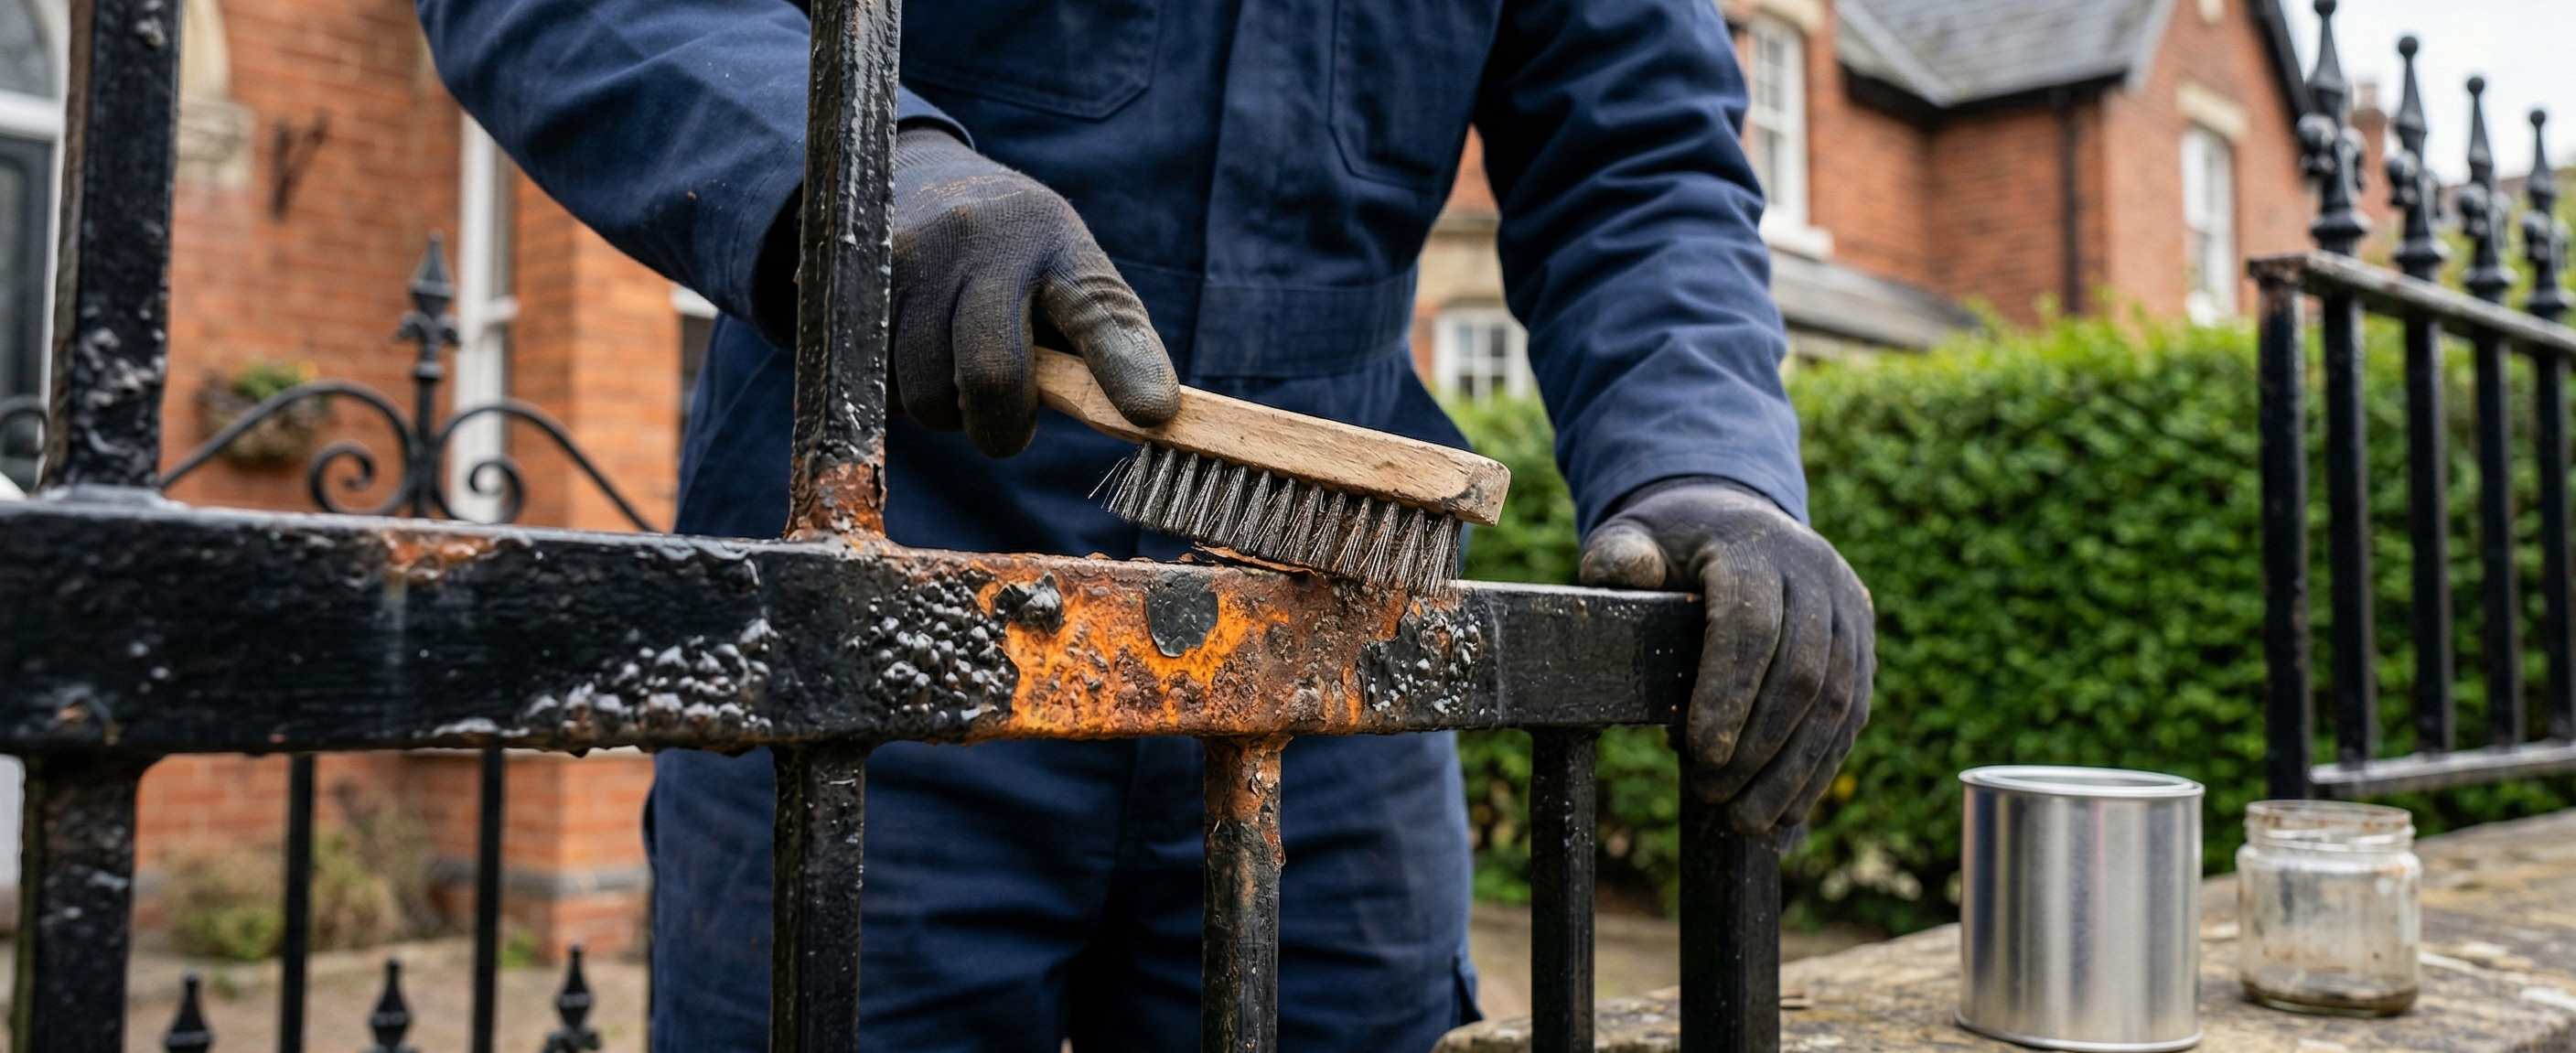
The Fix: You must use a wire brush or abrasive disc to remove all loose debris until only tight surface rust remains.
2. Missing the Primer Phase
While many Direct to Metal products are excellent, they are typically designed for metal that is in relatively good, or even brand new condition. On an old, pitted garden fence, a topcoat alone will struggle to fill the deep microscopic craters.
-
The Fix: For any metal showing signs of previous corrosion, you must use a dedicated barrier like Everest Anti-Corrosive Oxide Primer. This primer contains high-solids pigments that "passivate" the metal, chemically stifling the rust's ability to react with oxygen.
3. Flash Rusting from Moisture
If you clean your metal fence with water and don't dry it immediately, or if you paint on a humid morning, you can trap a microscopic layer of flash rust under the paint.
-
The Reality: This invisible layer of oxidation prevents the oil-based resin from wetting out the metal surface, leading to early adhesion failure and rust bleed.
The Professional Solution
If you want to stop rust for the long term, you should move from a single-pass mindset to a system-based approach.
Step 1: Mechanical Stabilisation
Scrape and wire-brush the fence until no more flakes fall off. Wipe the area down with a solvent (like white spirit) to remove any invisible grease or road salt that has settled on the metal.
Step 2: The Protective Layer
Apply a liberal coat of Everest Oxide Primer. Focus on scrubbing the primer into the joints, welds, and pits using a brush. This primer is designed to soak into the texture of the metal and lock out oxygen.
Step 3: The Shield
Once the primer is dry (12-24 hours), apply your topcoat. Our Oil-Based Gloss provides a high-build, flexible film that moves with the metal as it expands and contracts in the sun. This shield layer protects the primer from UV degradation and provides the final decorative finish.
Honest Trade-offs
Red vs. Grey Primer: Our Oxide Primer comes in Red and Grey. While red is the traditional industrial choice because it's easy to see coverage, grey is often better if your final fence colour is a light shade (like white or cream), as it requires fewer topcoats to hide.
The UV Reality: Anti-corrosive primers are functional, not decorative. They are not UV-stable. If you prime your fence but wait three months to apply the topcoat, the sun will have already begun to break down the primer's resin, potentially leading to failure. Always topcoat within 7 days of priming.
Edge Protection: Rust almost always starts at the edges, welds, and bolt-holes. These areas are naturally thinner because the paint pulls away as it dries. We recommend stripe-coating these areas - meaning you give them an extra coat of primer before doing the rest of the fence.
Share:
Adhesion Failure on Wood: Why Paint Peels and How to Fix It